Embrace Autumnal Bliss with Perfect Portion Mini Pumpkin Cakes
As the leaves begin to turn and the air grows crisp, there's an undeniable call for the comforting, spiced flavors of autumn. And what better way to answer that call than with a batch of delightful
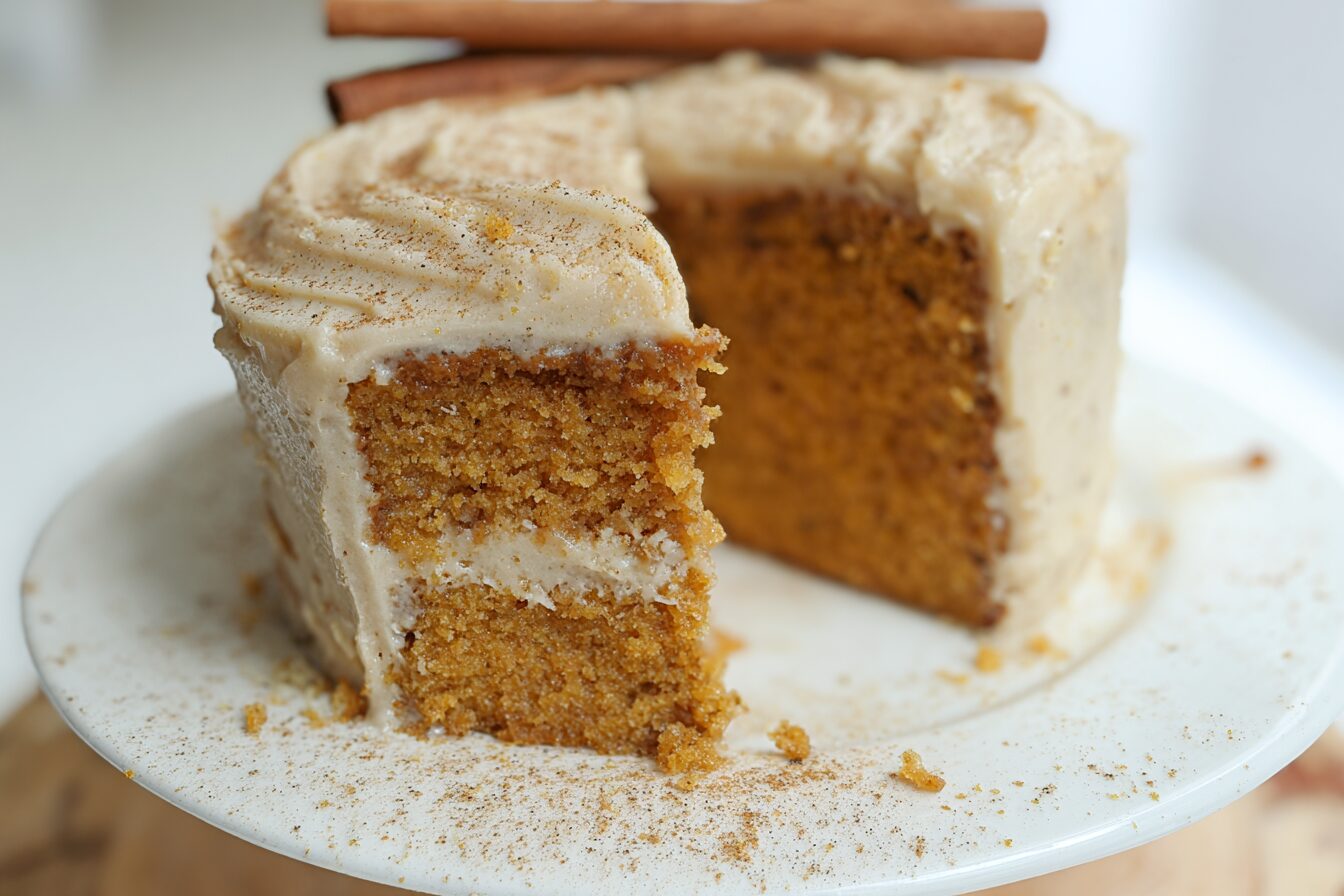
mini pumpkin cakes? Forget the commitment of a large layer cake; these individual portions offer all the warmth, spice, and tender goodness you crave, perfectly sized for a single serving or an intimate gathering. Imagine a perfectly moist, spice-infused pumpkin cake, layered with a luscious, tangy cream cheese frosting – a treat so exquisite it’s hard to stop at just one.
These aren't just any small cakes; they are meticulously crafted to deliver the full experience of a classic fall dessert in a charming, manageable form. Our recipe guides you to create two elegant mini layer cakes, each comprised of two tender cake rounds, generously filled and topped with a fluffy, sweet-yet-tangy cream cheese frosting. It's the ultimate small-batch dessert, designed for those moments when you desire something extraordinary without overindulging or facing a mountain of leftovers. If you're looking for an even more detailed step-by-step guide, explore our
Easy Mini Pumpkin Cake Recipe: Moist & Spiced with Cream Cheese Frosting.
Why Go Mini? The Allure of the Small-Batch Dessert
There's a special charm to baking in smaller quantities. For starters, it’s ideal for couples, small families, or even a solo indulgence without the pressure of finishing a large dessert. Mini cakes are also incredibly versatile for entertaining, offering a beautiful, personal presentation that guests adore. They bake faster, cool quicker, and are less intimidating for novice bakers. Plus, the portion control aspect is a welcome bonus, allowing you to savor every bite without the guilt.
The Secret to Unforgettable Flavor and Texture
The magic of these
mini pumpkin cakes lies in the harmony between the intensely flavored cake and the perfectly balanced frosting. Each component plays a vital role in creating a dessert that truly captures the essence of fall.
Crafting the Moist, Spiced Pumpkin Cake
The foundation of our delightful mini pumpkin cakes is a cake that is exceptionally tender and moist, bursting with the quintessential flavors of autumn. This isn't just a plain cake; it's a symphony of spices:
*
Pumpkin: The star ingredient, providing natural sweetness, moisture, and that signature autumnal hue. Ensure you're using
pure pumpkin puree, not pumpkin pie filling, which contains added sugars and spices.
*
Cinnamon: The warming backbone of any pumpkin spice blend.
*
Nutmeg: Adds a subtle, sweet, and nutty undertone.
*
Ginger: A touch of zing that brightens the entire profile.
*
Cloves: A deeper, more pungent spice that grounds the blend and adds complexity.
Together, these spices transform simple pumpkin into a cozy, aromatic experience that will fill your kitchen with the most inviting scents.
Achieving that perfect texture isn't just about the ingredients; it's also about technique. Here are crucial tips for a flawless cake:
*
Softened Butter is Non-Negotiable: For both the cake and the frosting, butter at the right temperature is key. Softened butter (not melted!) creams beautifully with sugar, incorporating air that creates a light and fluffy texture. If you're in a hurry, microwave butter for just 5-10 seconds per side, watching it like a hawk to prevent melting.
*
Room Temperature Egg: A room temperature egg emulsifies better with the other ingredients, leading to a smoother batter and a more uniform, tender crumb. If you forget to take it out, a quick 15-minute bath in warm water will do the trick.
*
Precision in Measuring: While cup measurements are common, a kitchen scale offers unparalleled accuracy, which is especially important for small-batch baking where small errors can have a bigger impact. If using cups, employ the "spoon and sweep" method for dry ingredients: lightly spoon flour into your measuring cup until it overflows, then level off with a straight edge. This prevents over-packing, which can lead to a dense, dry cake.
*
Don't Overmix: Once you add the dry ingredients, mix *just until combined*. Overmixing develops gluten, resulting in a tough, chewy cake rather than a tender, moist one.
The Tangy Dream: Cream Cheese Frosting
No pumpkin cake, mini or otherwise, is complete without a generous dollop of cream cheese frosting. This frosting is the ideal counterpoint to the sweet, spiced cake, offering a delightful tang that balances the richness. It’s sweet, yes, but its subtle acidity from the cream cheese cuts through the sweetness, making each bite incredibly satisfying and leaving you craving more.
To achieve that perfectly fluffy and stable cream cheese frosting, ensure your butter and cream cheese are both *softened*. Cold cream cheese will result in a lumpy frosting, while overly warm or melted butter will lead to a runny, unmanageable mess. Beat the softened butter and cream cheese together until light and fluffy before gradually adding powdered sugar and a touch of vanilla extract. Sifting your powdered sugar can help prevent lumps, ensuring a silky-smooth finish.
Baking Success: Essential Tips and Tricks
Baking these delightful
mini pumpkin cakes is a straightforward process, but a few key practices will ensure your success and elevate your baking game.
Tools of the Trade: Ramekins and Beyond
The recipe specifies four 3 oz ramekins, which are perfect for creating the ideal individual cake rounds. These small, ceramic dishes are versatile and oven-safe. However, if you don't have this exact size, don't fret!
*
Alternatives: Any small baking dishes close to 3 oz in capacity will work. Think mini loaf pans (for rectangular mini cakes), small ceramic gratin dishes, or even well-greased muffin tins (though these will yield flatter cakes, not ideal for stacking unless you bake more).
*
Adjusting Baking Time: If you use different-sized dishes, be prepared to adjust your baking time. Larger dishes will require more time, while smaller ones may bake faster. Always rely on the toothpick test: a toothpick inserted into the center should come out clean.
*
Preparation: Regardless of your chosen vessel, ensure it is thoroughly greased with butter or cooking spray. For extra insurance against sticking, you can lightly flour the greased ramekins after greasing, tapping out any excess.
Prepping for Perfection
Success in baking often comes down to meticulous preparation.
*
Preheat Thoroughly: Always preheat your oven for at least 15 minutes *before* you put anything in it. This ensures the oven reaches and maintains the correct temperature, leading to even baking.
*
Know Your Oven: Ovens can be notoriously temperamental, often running hotter or colder than their display indicates. An inexpensive oven thermometer is a baker's best friend, allowing you to truly understand your oven's quirks and adjust temperatures accordingly for consistently perfect results.
*
Organize Ingredients (Mise en Place): Have all your ingredients measured and at the correct temperature before you start mixing. This streamlines the process and prevents last-minute scrambling.
From Oven to Frosting: Cooling & Assembly
Patience is a virtue, especially when it comes to cooling your cakes.
*
Initial Cool Down: Once baked, let your cakes cool in their ramekins on a cooling rack for about 15 minutes. This allows them to firm up slightly and makes them easier to handle.
*
Gentle Removal: After 15 minutes, gently run a thin knife around the edges of each ramekin to loosen the cakes. Place another cooling rack over the top of the ramekin and carefully invert to release the cake.
*
Cool Completely: This is perhaps the most critical step before frosting. The cakes *must* cool completely to room temperature. Attempting to frost warm cakes will result in melted, sliding frosting and a messy situation.
*
Layering Up: Once cool, carefully stack your cake rounds, spreading a generous layer of that tangy cream cheese frosting between each layer and on top. Don't be shy with the frosting – it's an integral part of the experience!
Making Your Mini Pumpkin Cakes Shine: Serving & Storage
Once your delightful
mini pumpkin cakes are frosted, they are ready to impress! Here are some ideas to make them even more special:
*
Garnish with Flair: A simple dusting of cinnamon or nutmeg on top adds an elegant touch and reinforces the spice profile. For something extra, consider candied pecans, a light sprinkle of chopped walnuts, or even a tiny edible pumpkin decoration for a festive look.
*
Perfect Pairings: These cakes are exquisite with a hot cup of coffee, a spiced chai latte, or a comforting mug of apple cider. For an adult pairing, a light, dry sparkling wine can beautifully cut through the sweetness of the cake and frosting.
*
Storage Savvy: Due to the cream cheese frosting, these cakes must be stored in an airtight container in the refrigerator. They will remain fresh and delicious for 3-4 days. For optimal flavor and texture, let them come to room temperature for about 15-20 minutes before serving.
*
Make-Ahead Magic: You can bake the cake rounds a day in advance and store them, unfrosted, in an airtight container at room temperature. The cream cheese frosting can also be made ahead and stored in the fridge for up to 3 days. Simply give it a good whip with an electric mixer before frosting the cakes. This makes them an ideal dessert for preparing ahead of a fall gathering, ensuring you have more time to enjoy with loved ones. For more delicious individual treats, take a look at our
Individual Mini Pumpkin Cakes: Perfect Fall Treat for Small Cravings.
A Cozy Treat for Any Occasion
Whether you're celebrating a special autumn occasion, hosting a small dinner party, or simply craving a delicious, cozy treat on a quiet evening, these mini pumpkin cakes with tangy cream cheese frosting are an absolute winner. They encapsulate everything wonderful about fall baking in a perfectly portioned, incredibly flavorful package. So gather your ingredients, preheat your oven, and prepare to whip up a batch of these irresistible little wonders that are guaranteed to bring warmth and joy to your table. Happy baking!